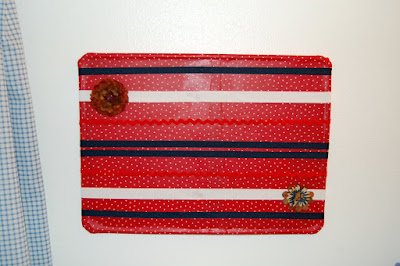
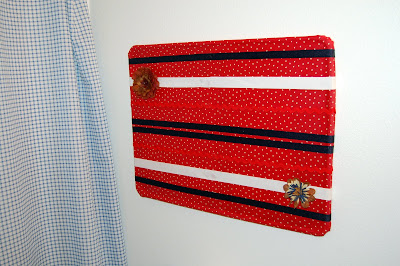
 I know you've been waiting for it.... here's the first of the finished projects from my DI run a couple weeks ago. The other projects are "on hold" temporarily while I
 a) wait for the weather to warm up so I can spray paint again
b) figure out a way to rescue the dress I was attempting.
ANYWAY,
Here's the FHE board redo: As a scarf holder for my cousin. Let me just tell you about my cute cousin Emma-- she's 16, red hair, cute glasses, recently went to London and came home in LOVE with scarves. I think that at our family Christmas party she got 4. At one party. She's also our favorite babysitter, so I wanted to do a fun bday present for her. Here we go>
The Before Picture
 First I removed the knobs and painted the whole thing black. I used acrylic paint, as it is too cold for spray painting right now. Also, acrylic painting can be done avec children while spray painting is more of a sans children activity.
 Sorry, my craft table is also painted black. I know, you're thinking I live with Edward Scissorhands or something with all the black I have. I promise it's balanced with color here and there.
 Then I cut out some fabric to match the raised portion of the board and Mod Podged it on there.
It was looking a little blah so I also stained it with my favorite wood stain. This made the black look shiny and gave the fabric a sort of tea-stained look. Not what I had planned on, but loved the result.
Can you just imagine it hanging on the wall with cute, colorful scarves hanging from it? So fun!


 Next, I spray painted the body of the bookshelf. It was just one of those cheap, plastic coated plywood bookshelves to begin with, so I wasn't too worried about ruining it with spray paint. In fact, I love spray paint because it's cheap and can totally transform something. After about 4 coats, plus a coat of polyurethane to keep it from scratching, it was finished.
 Nailed the mod-podged back onto the newly black bookshelf

